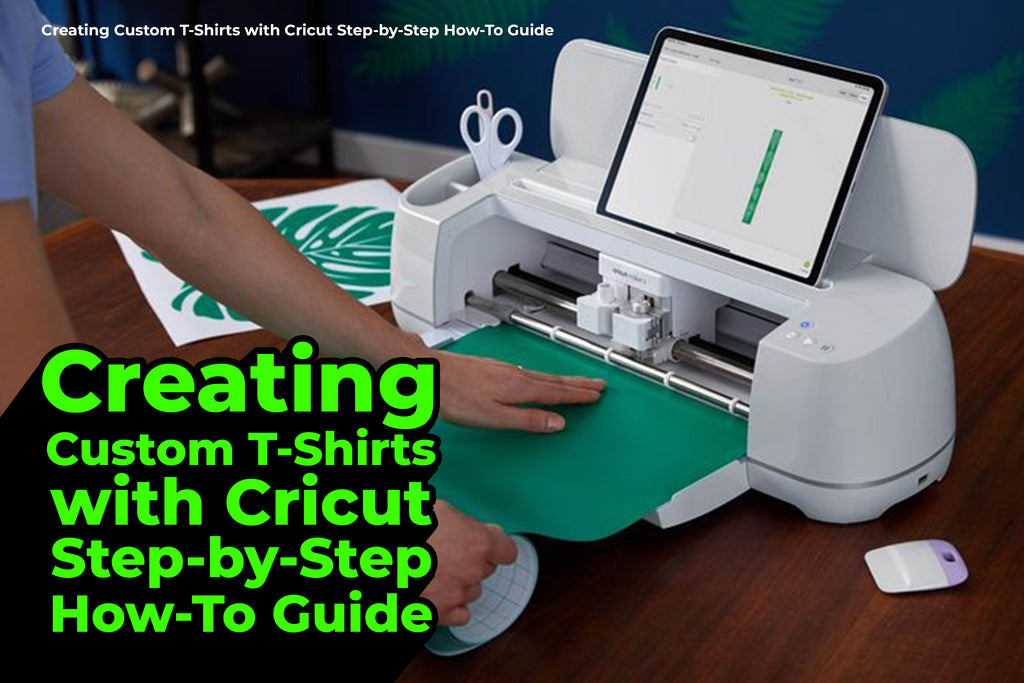
Creating Custom T-Shirts with Cricut Step-by-Step How-To Guide
Posted by ARTEMIO NERVEZ JR

Making custom T-shirts with a Cricut machine is a fun and rewarding project. Whether you're creating personalized gifts, promotional items, or unique apparel for yourself, the process is straightforward. This guide will walk you through each step to help you create your custom T-shirts with ease.
What You Need
Before you begin, gather the following supplies:
- Cricut Machine: Any Cricut machine capable of cutting iron-on vinyl.
- Iron-On Vinyl (HTV): Heat Transfer Vinyl in your chosen colors and designs.
- Weeding Tools: To remove excess vinyl from your design.
- T-Shirts: Plain shirts made of cotton or a cotton blend work best.
- EasyPress or Iron: To transfer the vinyl onto the shirt.
- Cutting Mat: To hold your vinyl in place while cutting.
- Design Software: Cricut Design Space for creating and editing your design.
Step 1: Design Your T-Shirt

- Open Cricut Design Space: Start by opening Cricut Design Space on your computer or mobile device.
- Create Your Design: Use the design tools to create or upload your design. Make sure to size it appropriately for your T-shirt.
- Mirror Your Design: Before cutting, ensure you mirror your design. This step is crucial for HTV projects.
Step 2: Cut Your Design
- Prepare Your Vinyl: Place your HTV shiny side down on the cutting mat.
- Load the Mat: Load the mat into your Cricut machine.
- Select Material Settings: Choose the correct material setting for iron-on vinyl.
- Cut the Design: Press the "Go" button to start cutting your design.
Step 3: Weed the Vinyl

- Remove Excess Vinyl: Carefully peel away the excess vinyl from around your design using weeding tools.
- Weed the Details: Make sure to remove any small pieces from inside letters or intricate parts of your design.
Step 4: Prepare the T-Shirt
- Preheat the T-Shirt: Use your EasyPress or iron to preheat the area of the shirt where you'll apply the design. This removes any moisture and wrinkles.
- Position the Design: Place your weeded design on the shirt, with the shiny side (carrier sheet) facing up.
Step 5: Apply the Vinyl

- Set the Temperature: Preheat your Easy Press or iron to the recommended temperature for HTV.
- Press the Design: Apply even pressure for the recommended time, ensuring all parts of the design receive heat.
- Cool and Peel: Allow the design to cool slightly, then carefully peel off the carrier sheet. If any part of the vinyl lifts, press it again.
Step 6: Final Touches
- Check the Design: Inspect your design to ensure it has adhered properly. Reapply heat if necessary.
- Wash and Care Instructions: Turn the shirt inside out before washing and follow the care instructions to ensure the design lasts.
Tips for Success
- Use Quality Materials: Invest in high-quality HTV and T-shirts for the best results.
- Practice First: If you're new to using a Cricut, practice on scrap materials before working on your final project.
- Experiment with Layers: Create multi-colored designs by layering different HTV colors.
- Stay Organized: Keep your workspace tidy and have all your tools within reach.
Conclusion
Creating custom T-shirts with a Cricut at VS Tees is an excellent way to showcase your creativity and design personalized apparel. With this step-by-step guide, you can easily produce professional-looking T-shirts.
Creating custom T-shirts with a Cricut is a fantastic way to express your creativity and make personalized apparel. By following this step-by-step guide, you'll be able to produce professional-looking T-shirts easily. Happy crafting!


