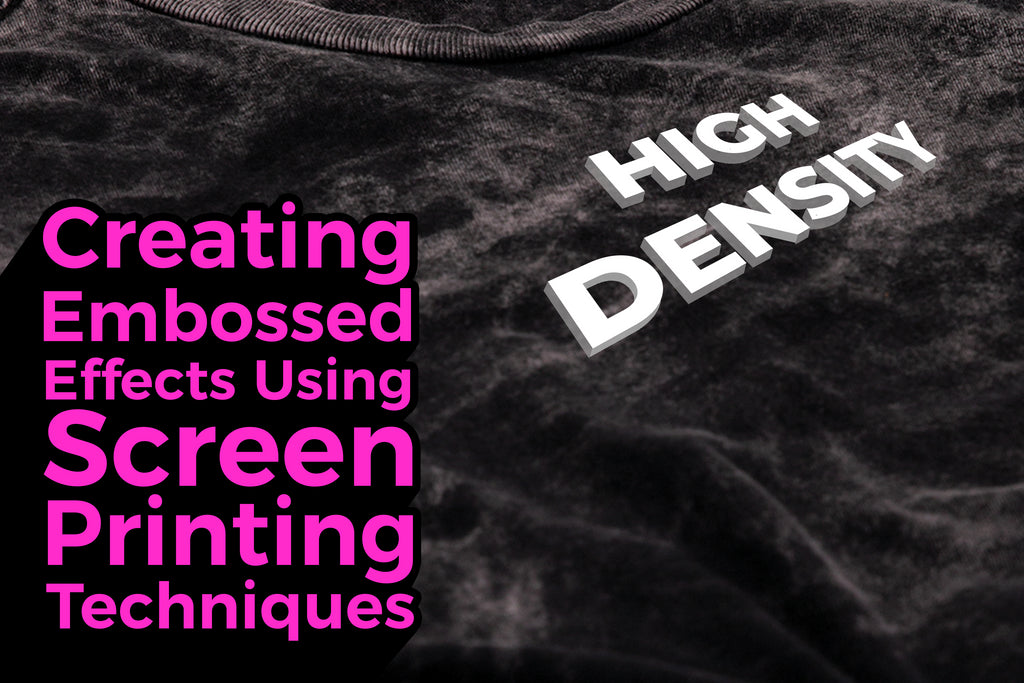
Creating Embossed Effects Using Screen Printing Techniques
Posted by ARTEMIO NERVEZ JR

Embossing is a process often associated with adding elegance and tactile quality to printed materials, usually achieved through specialized machinery that molds or stamps the design into paper or cardstock. However, for creatives and DIY enthusiasts without access to such equipment, achieving an embossed effect through screen printing offers a fascinating, accessible alternative. This article explores how to create embossed effects using screen printing techniques, allowing for the addition of texture and visual depth to your projects with tools and materials that might already be in your workshop.
Understanding the Basics of Screen Printing
Screen printing is a versatile printing technique that involves pushing ink through a mesh screen to create designs on various surfaces. Traditionally, it's used for flat, graphic images, but with a bit of ingenuity, it can be adapted to mimic the look and feel of embossing.

Materials Needed
- A screen printing frame and mesh
- Photo emulsion and sensitizer
- A dark room or space for screen development
- Screen printing ink (thicker ink is better for creating raised effects)
- A squeegee
- A heat gun or hair dryer (optional)
- High-density foam or a similar material (for the embossing effect)
- Paper or any material you wish to print on
Step 1: Design Preparation
Begin with a design that has bold, uncluttered elements. Fine details might not translate well to the embossed effect. Convert your design into a stencil or use photo emulsion to prepare your screen, following the standard screen printing process.
Step 2: Creating a Raised Surface
Before applying ink, you'll need to modify the printing surface to help create the embossed effect. Attach a layer of high-density foam or similar material to the underside of your screen, ensuring it's cut precisely to match the design areas where you want the embossed effect to appear. This modification to the screen setup helps to deposit more ink onto the substrate, giving the design a raised appearance.
Step 3: Printing
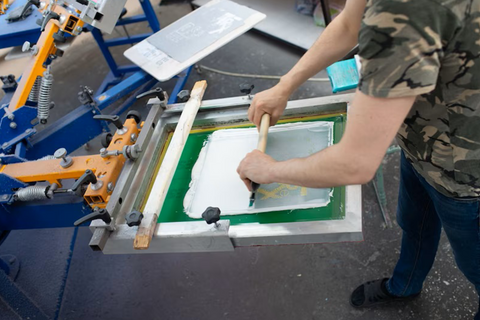
When printing, use a thicker ink to ensure the design stays raised on the surface. Apply ink to the screen and use a squeegee to press the ink through. The foam beneath the screen will compress slightly, allowing a heavier deposit of ink on the substrate.
Step 4: Drying and Setting
Allow the print to dry naturally or speed up the process using a heat gun or hairdryer. Be careful not to smudge the thick layers of ink. Depending on the ink used, you may need to heat-set the print to ensure durability.
Tips for Success
- Test First: Practice on scrap material to get a feel for the amount of ink and pressure needed.
- Layering: For a more pronounced embossed effect, consider printing the design, allowing it to dry, and then printing a second layer.
- Ink Quality: Use high-quality, thick ink designed for screen printing to ensure the best results.
- Patience: The thicker ink layers mean longer drying times. Be patient to avoid ruining the embossed effect.
Conclusion:
While not a replacement for traditional embossing, creating embossed effects with screen printing is a creative workaround that adds a unique touch to artwork, greeting cards, posters, and more. It blends the tactile appeal of embossing with the DIY charm of screen printing, offering a new avenue for artists and printers to explore their creativity. With practice, you can refine this technique to produce stunning, textured prints that stand out for their craftsmanship and visual impact.
At VS Tees, we've discovered that while it doesn't substitute for conventional embossing, crafting embossed-like effects via screen printing introduces a distinctive flair to various projects such as artwork, greeting cards, and posters. This method merges the sensory allure of embossed textures with the hands-on appeal of screen printing, opening a fresh path for artists and printers to unleash their creativity. Through dedication and practice, this technique can be mastered to create remarkable, textured artworks that are notable for their artistry and visual appeal.


