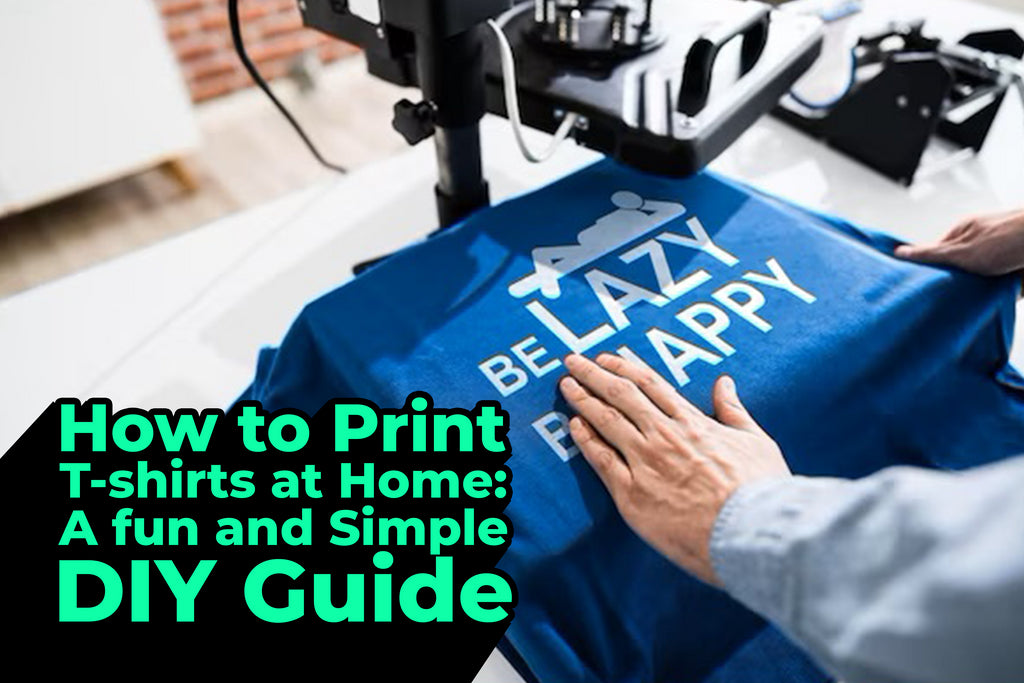
How to Print T-Shirts at Home: A Fun and Simple DIY Guide
Posted by ARTEMIO NERVEZ JR

Printing your T-shirts at home is a rewarding and creative way to express your style or promote your brand. With a few basic materials and some patience, you can create custom designs that are uniquely yours. Here's a step-by-step guide to get you started.
Materials You'll Need

Before you begin, gather the following materials:
- Plain T-shirts: Choose cotton or a cotton blend for best results.
- Transfer paper: Available for both inkjet and laser printers, be sure to select the correct type.
- Printer: An inkjet or laser printer will work depending on your transfer paper.
- Iron or heat press: A standard household iron can suffice, but a heat press provides more consistent results.
- Design software: Programs like Adobe Illustrator, Photoshop, or even free options like Canva.
- Scissors or a cutting machine: To trim your design to size.
Step-by-Step Instructions
Create Your Design
Start by creating your design using your chosen software. Keep in mind the size and placement of the T-shirt. Simple designs with bold lines and vibrant colors work best for DIY printing.
Print Your Design
Print your design onto the transfer paper. Make sure to follow the instructions provided with your transfer paper for the best results. For designs with text, remember to print in a mirror image so that it reads correctly once transferred.
Prepare Your T-Shirt

Lay your T-shirt on a flat, hard surface. Smooth out any wrinkles and preheat the fabric with your iron or heat press for about 5 seconds to remove any moisture.
Cut Out Your Design
Carefully cut around your design, leaving a small border. This makes it easier to handle and ensures a clean transfer.
Transfer the Design
Place the transfer paper on the T-shirt with the design facing down. Apply even pressure with your iron or heat press according to the transfer paper's instructions. Typically, this involves pressing for about 60-90 seconds. If using an iron, apply firm pressure and move it in small circles to ensure even heat distribution.
Peel Off the Transfer Paper
Allow the T-shirt to cool slightly, then carefully peel off the transfer paper. Start from one corner and peel back slowly to ensure the design has adhered properly.
Set the Design
To set the design, place a piece of parchment paper or a clean cloth over the print and press again with your iron or heat press for another 10-15 seconds. This helps to secure the design and improve its durability.
Tips for Best Results
- Test Print: Before applying your design to a T-shirt, do a test print on regular paper to check for any errors.
- Wash Care: Turn your T-shirt inside out before washing and use cold water to extend the life of the print.
- Avoid Overloading: Avoid applying too much pressure or heat, which can cause the design to crack or peel.
Conclusion
At VS Tees, printing T-shirts at home is a fun and fulfilling project that allows for endless creativity. Whether you're making personalized gifts, team uniforms, or promotional merchandise, following these steps will help you achieve professional-looking results. Happy printing!


