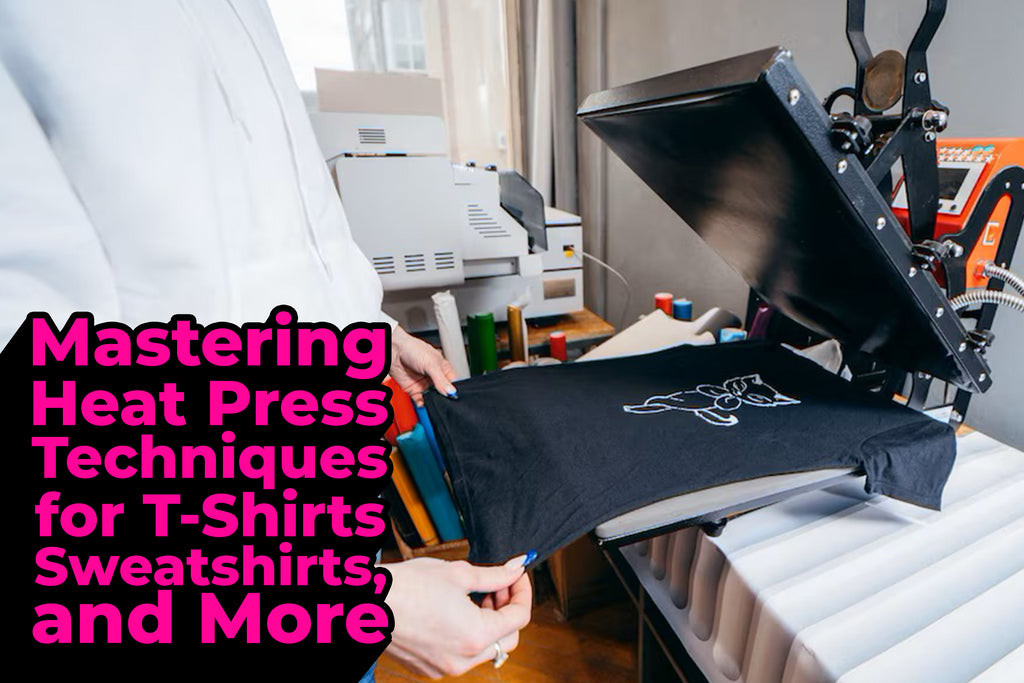
Mastering Heat Press Techniques for T-Shirts, Sweatshirts, and More
Posted by ARTEMIO NERVEZ JR

Heat pressing is a versatile and effective method for customizing apparel and various other items. Whether you’re a hobbyist or running a small business, mastering the use of a heat press can elevate your creative projects. This comprehensive guide will walk you through everything you need to know about using a heat press for T-shirts, sweatshirts, and more.
What is a Heat Press?

A heat press is a machine that uses heat and pressure to transfer designs onto fabrics and other materials. It’s commonly used for applying Heat Transfer Vinyl (HTV), sublimation prints, and other types of transfers.
Equipment and Supplies Needed
- Heat Press Machine: Available in various sizes and styles (e.g., clamshell, swing-away).
- Heat Transfer Vinyl (HTV) or Sublimation Paper: Depending on your design method.
- Weeding Tools: For removing excess vinyl.
- Garments: T-shirts, sweatshirts, tote bags, etc.
- Heat-Resistant Tape: To secure your design in place.
- Teflon Sheet or Parchment Paper: To protect your design and heat press.
Step-by-Step Guide to Using a Heat Press
Step 1: Prepare Your Design
- Create or Choose Your Design: Use graphic design software to create or select your design. Ensure it is sized correctly for your garment.
- Cut the Design: Use a cutting machine to cut your HTV design. For sublimation, print your design on sublimation paper.
- Weed the Design: Remove excess vinyl from your HTV design, leaving only the desired parts.
Step 2: Set Up the Heat Press
- Turn On the Heat Press: Plug in and turn on your heat press. Allow it to preheat to the recommended temperature for your material.
- Adjust Settings: Set the temperature, pressure, and time according to the specifications of your HTV or sublimation paper. Common settings are around 320°F (160°C) for HTV and 400°F (205°C) for sublimation, with varying pressure and time.
Step 3: Prepare the Garment
- Pre-Press the Garment: Place the garment on the heat press and close it for a few seconds to remove moisture and wrinkles.
- Position the Design: Place your HTV design on the garment with the carrier sheet facing up or your sublimation paper design facing down.
- Secure with Heat-Resistant Tape: Use heat-resistant tape to keep your design in place.
Step 4: Apply Heat and Pressure
- Cover with Teflon Sheet: Place a Teflon sheet or parchment paper over your design to protect it.
- Press the Design: Close the heat press and apply the necessary pressure. Follow the time specified for your material.
- Open the Press: Once the timer goes off, carefully open the heat press.
Step 5: Finish the Process
- Remove the Cover: Take off the Teflon sheet or parchment paper.
- Peel the Carrier Sheet or Paper: For HTV, peel the carrier sheet away while warm or cool, as specified. For sublimation, remove the sublimation paper.
Tips for Successful Heat Pressing
- Test First: Always test your settings on a scrap piece of material before pressing your final project.
- Follow Instructions: Adhere to the manufacturer’s guidelines for temperature, pressure, and time.
- Keep the Heat Press Clean: Regularly clean your heat press platen to avoid any residue that might affect your transfers.
- Use Quality Materials: High-quality HTV, sublimation paper, and garments ensure better results.
Advanced Techniques

- Layering Vinyl: Create multi-colored designs by layering different HTV colors. Press each layer separately, reducing the time slightly for the initial layers.
- Applying Transfers to Non-Fabric Items: Use your heat press on items like mugs, plates, and caps with the appropriate attachments.
- Customizing with Sublimation: Sublimation works best on polyester fabrics and specially coated items. Ensure your designs are printed with sublimation ink for the best results.
Conclusion:
At VS Tees, using a heat press unlocks a vast array of customization possibilities for T-shirts, sweatshirts, and numerous other items. By following this step-by-step guide, you can effortlessly achieve professional-looking results. Practice and experiment with various techniques to discover what works best for your projects. Happy pressing!


