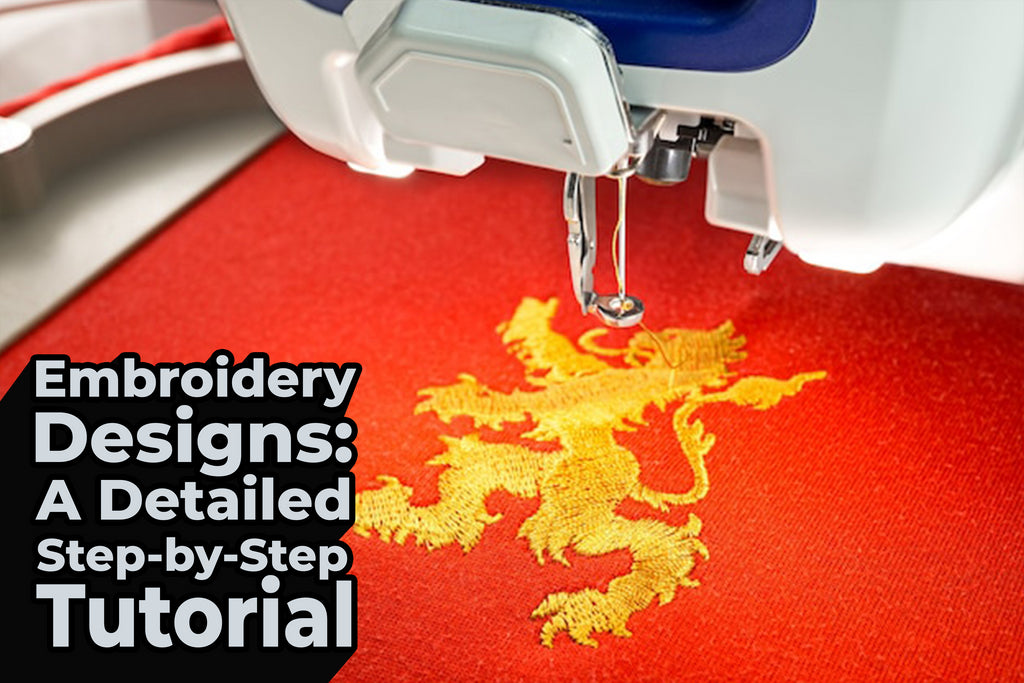
Embroidery Designs: A Detailed Step-by-Step Tutorial
Posted by ARTEMIO NERVEZ JR

Embroidery, an age-old art form, has been a cornerstone of fashion and decor for centuries. Today, it remains a popular hobby and a thriving business avenue. Whether you're a beginner looking to start your embroidery journey or a seasoned crafter seeking to refine your skills, this step-by-step guide will help you navigate the intricate world of embroidery designs.
Understanding the Basics
Before diving into the stitching, it's crucial to understand the basics of embroidery:
- Materials: Gather your essentials - embroidery hoop, fabric, needles, and floss.
- Choosing a Design: Select a design that suits your skill level. Beginners should start with simpler patterns.
- Transferring the Design: Use transfer paper or a tracing method to get your chosen design onto the fabric.
Step-by-Step Embroidery Guide

Step 1: Preparing Your Fabric
- Hoop it Up: Place your fabric in the embroidery hoop. Ensure it's taut but not overly stretched. This helps maintain even stitching.
Step 2: Threading the Needle
- Floss and Thread: Cut about an 18-inch length of embroidery floss. Use an embroidery needle – its eye is large enough for the floss to pass through easily.
Step 3: Starting to Stitch
- Beginner Stitches: Start with basic stitches. The running stitch, back stitch, and chain stitch are great for beginners.
- Knotting: Avoid big knots; leave a small tail and stitch over it to secure the floss.
Step 4: Following the Pattern
- Details Matter: Pay close attention to your pattern. It’s the roadmap to your final design.
- Consistency is Key: Try to keep your stitch length consistent. This practice gives your design a neat and professional look.
Step 5: Adding Colors and Details
- Color Switching: To change colors, finish off your current thread (as mentioned in step 3) and start with a new color.
- Textures and Layers: Experiment with different stitches to add texture. French knots and satin stitches are great for adding depth.
Step 6: Finishing Off
- Secure the Ends: Once your design is complete, secure the floss at the back of the work by running the needle under a few completed stitches.
- Removing the Hoop: Carefully remove the fabric from the hoop. Iron the fabric if necessary, ensuring not to press directly on the stitches.
Tips for Success
- Practice Makes Perfect: Don’t be discouraged by initial mistakes. Embroidery is an art that improves with practice.
- Stay Inspired: Experiment with different designs, fabrics, and stitch types.
- Join a Community: Connect with other embroidery enthusiasts to share tips, tricks, and inspiration.
Conclusion
Embroidery is a beautiful, meditative, and creative craft. This step-by-step guide is designed to set you on a path of discovery and mastery within the world of embroidery designs. Remember, every stitch is a stroke of your creativity, so embrace the process and watch your designs come to life.
At VS Tees, we celebrate embroidery as a mesmerizing, reflective, and inventive art form. This detailed guide aims to guide you through an exploratory journey towards becoming proficient in the realm of embroidery creations. Bear in mind, that each stitch embodies a flourish of your imagination—so cherish the journey and witness your designs bloom into existence.


